Add a New Absence Reason to Aesop
Specific steps should be followed to ensure a smooth addition of new absence reason codes in Aesop.
Create the New Reason but Don’t Make it Public
- Hover over Reference Data and click Absence Reason
- Click on the pencil icon next to the name of the absence bucket that the new reason will be nested into
- Click on the blue plus (+) icon in the bottom right of the list of absence reasons.

- Type in a name and check the following boxes:
- Needs Approval (if it will need approval)
- Enforce Notes to Administrator (unless it is under Time-off)
- Click the Apply Changes button
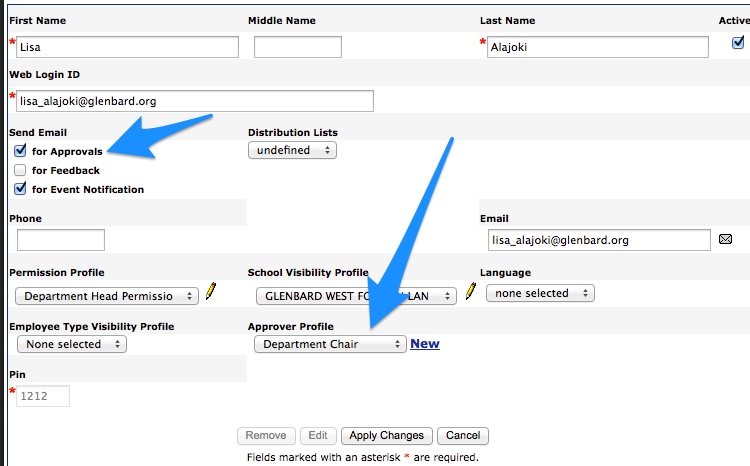
Set the Approvers (if needed)
- Hover over Security and then click Approver Profiles
- Click the Edit button for the profile that will become the approver
- Click the blue plus (+) button
- Leave School set to –Any–
- Leave Employee Type set to –Any–
- Select the Absence Reason
- The Level will default to 1. Change to 2 if applicable.
- Click the Apply Changes button
Make Public to Employees
- Hover over Reference Data and click Absence Reason
- Click on the pencil icon next to the name of the absence bucket that the new reason is under
- Click in the Public to Employee column of the reason to edit the record and check the box
- Enter a Phone Menu #
- Click the Apply Changes button