Adding and Deleting Sections Per FTE
During the scheduling process, the APOs will make decisions about adding more sections are holding less sections of particular courses during the coming year based on FTE.
The Data Specialists will make adjustments to sections in PowerScheduler.
Adding Sections
- From the PowerSchool start page, click PowerScheduler under Applications
- Click Sections under Schedule
- All of the courses are listed on the left hand side. Find the course that needs to be adjusted. Using the Internet browser’s Find function can make this very easy.
- Click the Course Name on the left hand side to pull up a list of sections.
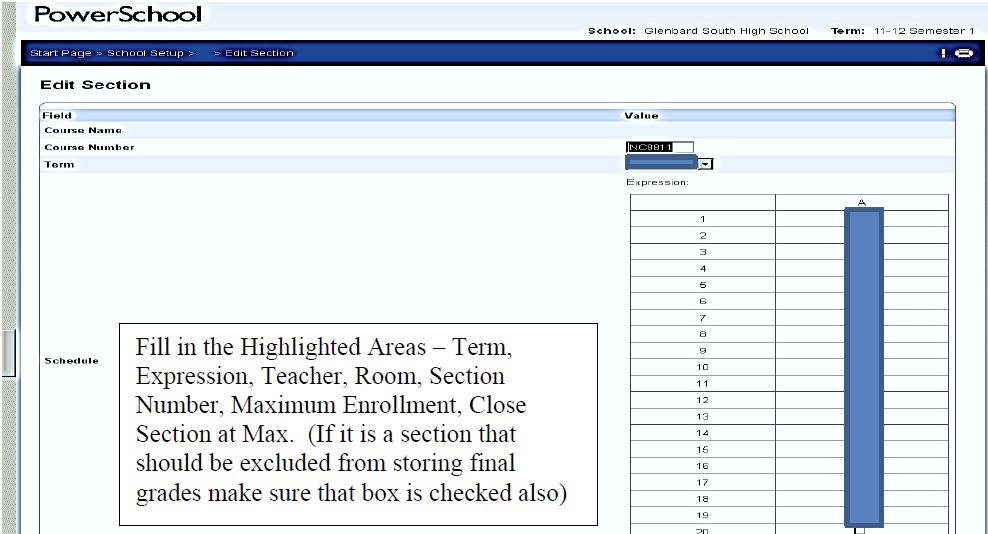
- Click the New button at the top of the list of sections.
- Set the appropriate settings and click Submit.
Note: Read the Adding a New Section in the related articles for a full description of the different settings that are available when creating a section.
Deleting Sections
- From the PowerSchool start page, click PowerScheduler under Applications
- Click Sections under Schedule
- All of the courses are listed on the left hand side. Find the course that needs to be adjusted. Using the Internet browser’s Find function can make this very easy.
- Click the Course Name on the left hand side to pull up a list of sections.
- Click the section number that needs to be deleted.
- Click the Delete button.


