The steps below are how to utilize the Xerox Secure Feature so there is interaction before a print job is released. This is useful when there are confidential documents that others should not see or have access to.
Below are the steps on how to get to the Xerox software, how to configure and use the secure print feature, and how to release the print job.
The following steps contain examples of how to get to the print menu using Word, Foxit Reader, and Chrome as they are the most common software used at Glenbard District 87. The steps for other software should be similar, but please reach out to a Technician if you are using software with different steps.
Getting To The Xerox Software
Microsoft Word Instructions:
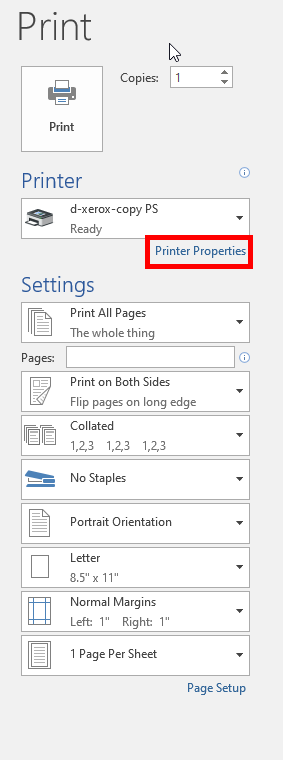
- Open the Print Dialog by clicking CTRL+P
- Select the Xerox from the drop down menu
- Click Printer Properties
- Scroll down to Xerox Software Steps
Foxit Reader Instructions:
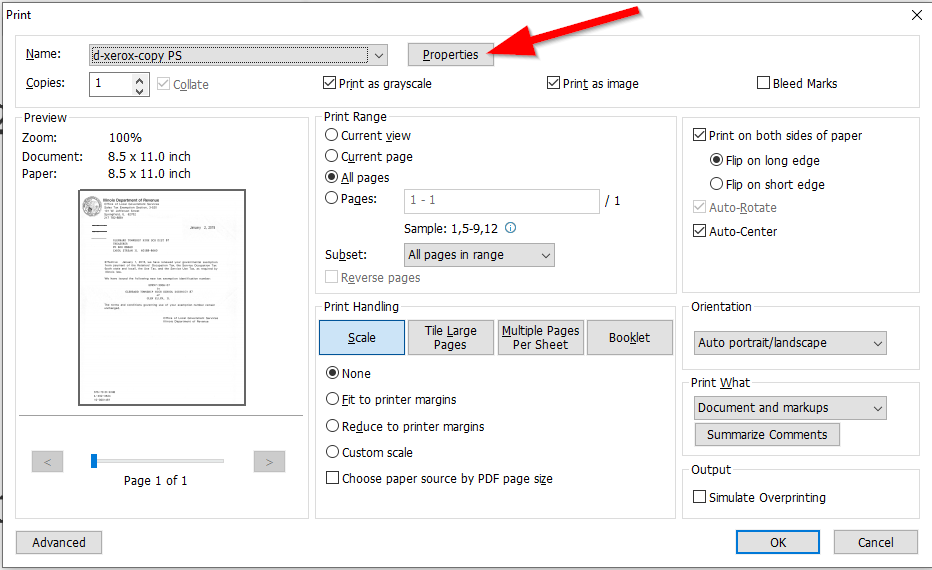
- Open the Print Dialog by clicking CTRL+P
- Select the Xerox from the drop down menu and click Properties
- Scroll down to Xerox Software Steps
Google Chrome Instructions:
- Open the Print Dialog by clicking CTRL+P
- Click More Settings
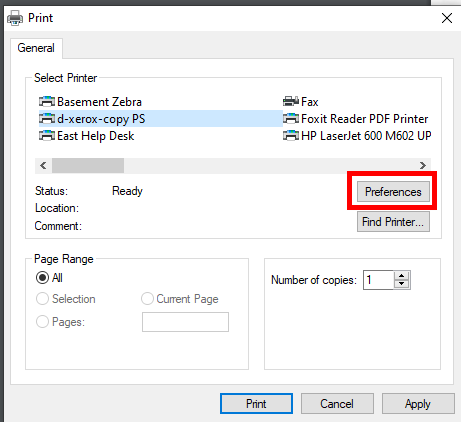
- Click Print using system dialog…(Ctrl+Shift+P)

- Select the Xerox you wish to print to and click Preferences
- Scroll down to Xerox Software Steps
Xerox Software Steps
- On the Xerox Print Menu, click the Job Type dropdown menu
- Select Secure Print
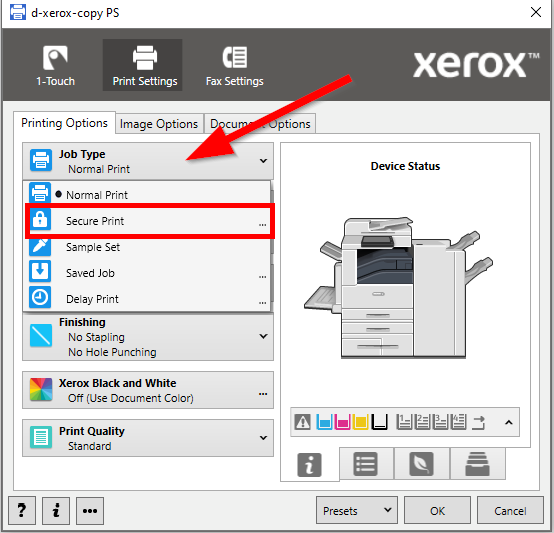
- Enter in the passcode that will be used to release the job at the Xerox machine. The passcode needs between 4-10 digits
- Click Ok to close the passcode menu
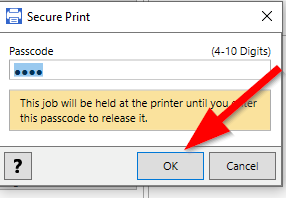
- Once all other options are set, click OK in the bottom right of the Xerox print menu
- Once back to the applications original print menu, click Print. The document will be sent to a password protected unique job queue
Releasing The Secure Job
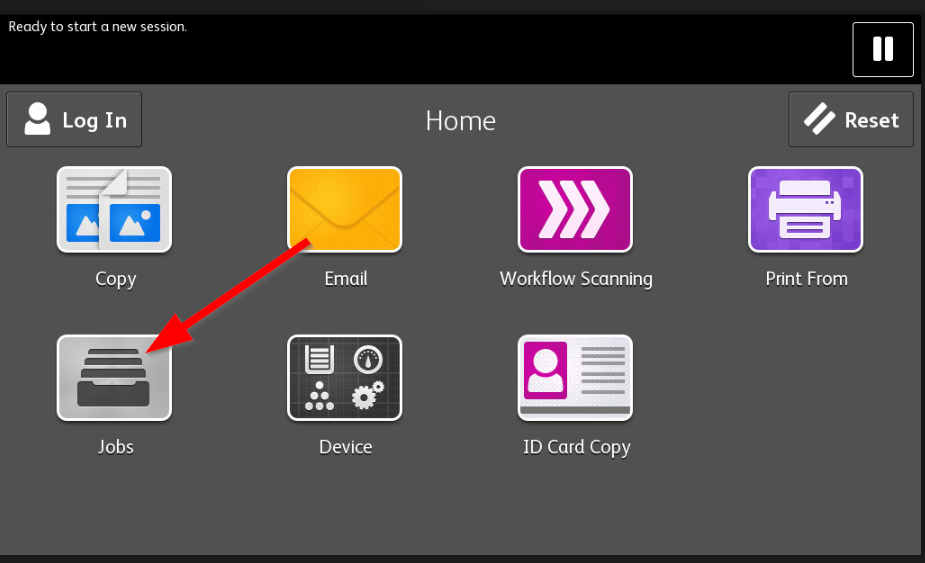
- Click Jobs
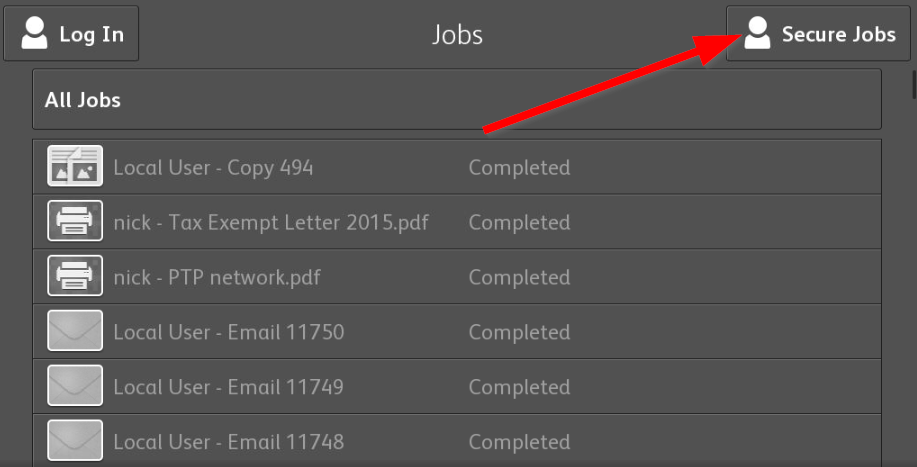
- Click Secure Jobs
- Click on the matching name (should be the same as your user account)
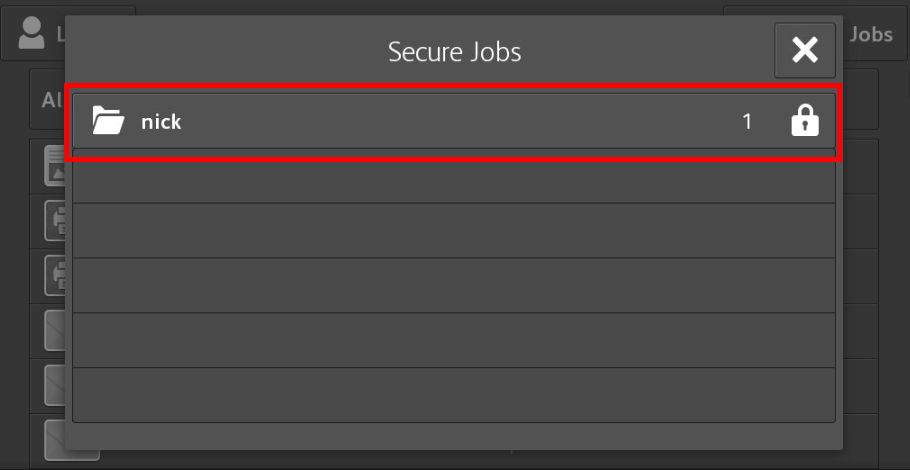
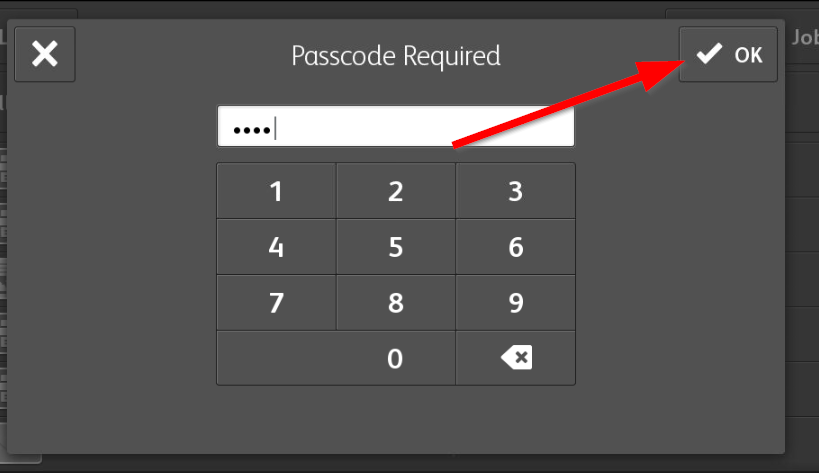
- Enter in the passcode
- Click OK
- On the secure jobs menu, you can:
- Click the specific document you want to print
- Click Delete All to clear the job queue
- Click Print All to print all documents in the queue
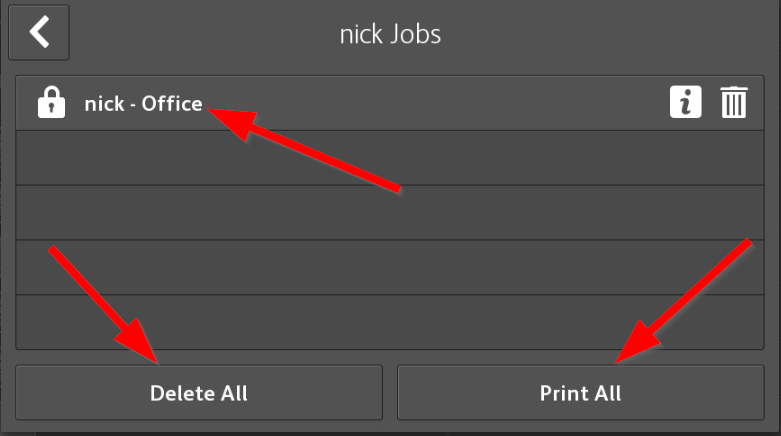
From this menu, clicking the job name or Print All will start printing the document