
How to create and edit/reassign Web Help tickets to the proper Request Type as a Technician.
Create a New Ticket – Select a Client
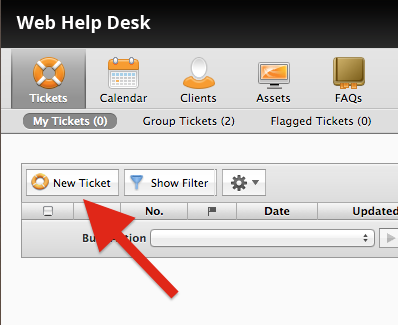
1. Select either ‘My Tickets’ or ‘Group Tickets’ in the Web Help Desk toolbar. Click on the New Ticket button.
2. Enter the first three letters of the person’s first and last name in the appropriate fields. This would be your name when creating a ticket for yourself or the client’s when creating a ticket on behalf of someone else.
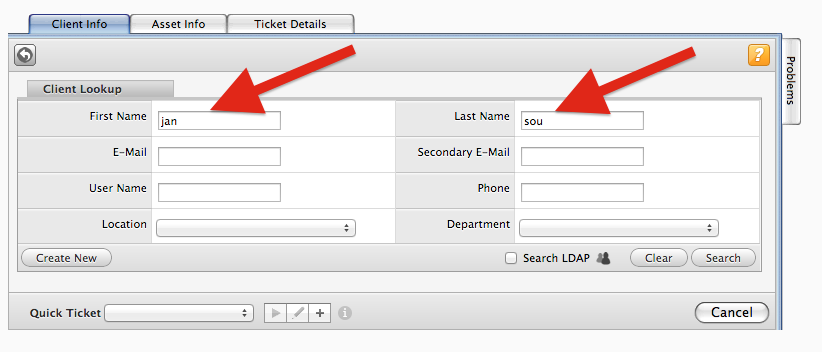
3. Click the Search button or press the Enter key.
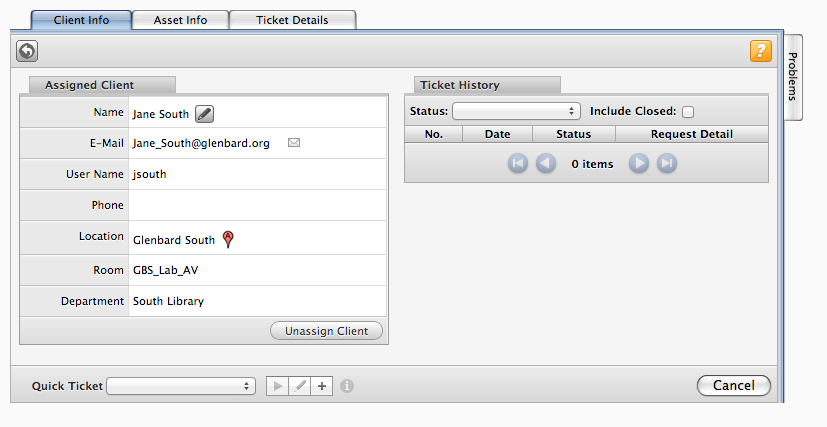
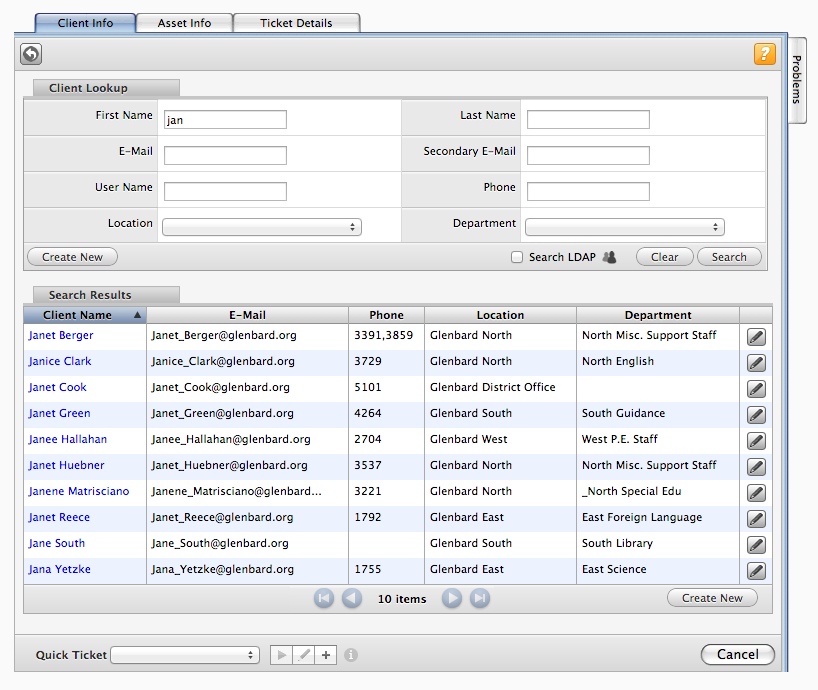
4. The client’s info will appear if a single match is found. You will be presented with a list of clients if more than one match is found. Click on the client’s name to select it.
Please be observant when selecting a client from the list because student accounts will also appear in the list.
Single Match
Multiple Matches
5. Click on the Ticket Details tab once you have a single client selected.
Create a New Ticket – Ticket Details
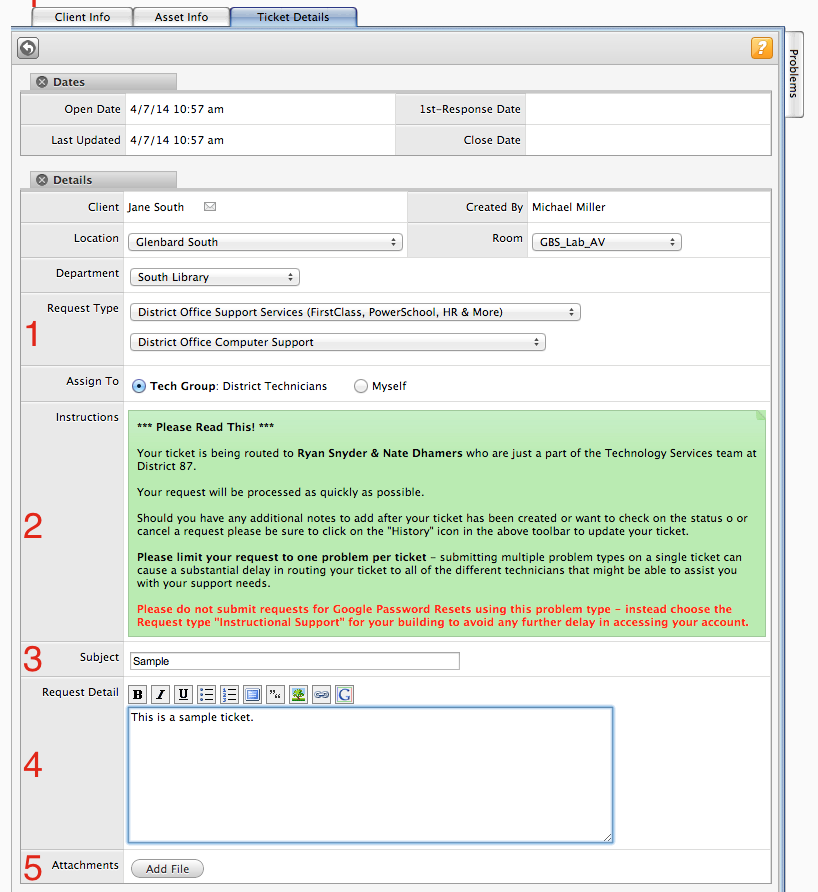

1. Request Type
Choose the correct Request Type according to the issue at hand. All Request Types have detailed descriptions on when they are to be used. Some Request Types will create a second or third drop-down box with additional options. You must select an option from all drop-down boxes in order to submit the ticket.
2. Please Read!
This green box displays details on when it is best to use the Request Type that you have chosen. Please read the descriptions if you are not already familiar with them. There will be a delay if your ticket is routed incorrectly.
3. Subject
Enter a descriptive “title” for the issue.
4. Request Detail
Include detailed information about the issue. (Please be as descriptive as possible.)
5. Attachments
Click the Add File button to add an attachment to the ticket, much like an E-Mail. Use this to send screenshots, documents, and other files that will be of use to the Technicians in regards to solving the issue.
6. Notes
Add a note to the ticket. This is useful when reassigning tickets or adding information that will be helpful to the technicians.
7. Recipients
Choose who will receive E-Mails when the ticket is created or updated. It is generally not necessary to select anything other than Client. Technicians will automatically receive an E-Mail when a ticket is updated. You may sometimes want to CC another Client or Technician.
8. Status & Schedule
Here you can change the Status or Priority of a ticket. These are not often used when creating tickets. You may find more information about ticket Status and Priority by viewing the Ticket Status and Schedule article linked at the bottom of this page.
9. Submit
Click the Save & E-Mail button at the bottom of the screen to create the ticket.
Reassign a Ticket
Sometimes a ticket is submitted to the wrong Request Type or to the wrong technician. This can be corrected by reassigning a ticket.
1. Locate the misdirected ticket.
A) Click on My Tickets or Group Tickets and select the ticket.
OR
B) Click on Search Tickets and find the ticket by searching for the Request Type, Client Last Name, Request contents, etc.
2. Once the ticket has been found, click on the Ticket Number to open it.
3. Change anything that is needed to route the ticket to the correct Technician or Request Type. Changing the Request Type will usually reassign the Technician automatically.
4. Add any Notes or Attachments that may be needed to explain the change.
5. Click the Save & E-Mail button when finished.