How to add attachments to a request in Web Help Desk.
You may add files, called Attachments, to a request (also called a ticket) in Web Help Desk. These attachments function exactly like attachments in an E-Mail. This is useful for adding screenshots of error messages or other information that can be helpful for a Technician to assist with a help request.
1. Open any ticket that you have perviously created or start a new ticket.
2. Fill out all of the required information.
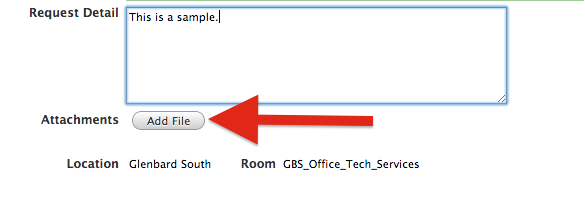
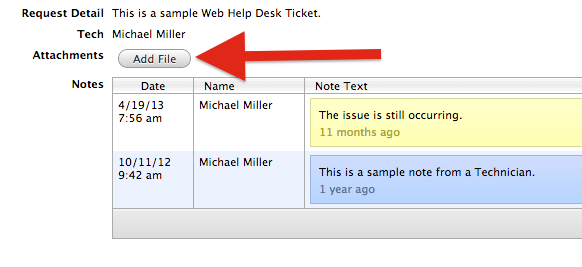
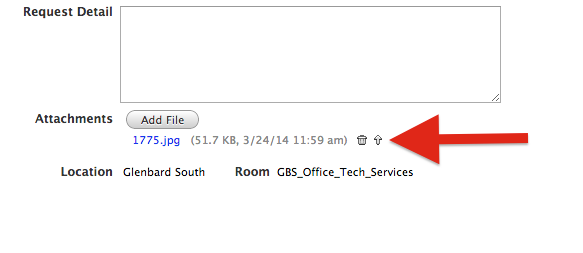
3. Click the Add File button below the Request Detail box if you started a new request, or click the Add File button below the Tech’s name if you are viewing a previous ticket.
New ticket

Previous ticket
4. A pop-up should appear on the screen.
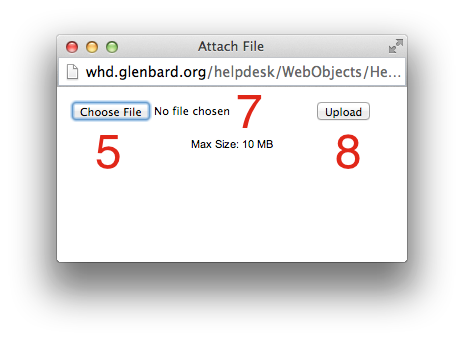
5. Click the Choose File button. Only one file may be added at a time.
6. A window will open that will allow you to choose your file.
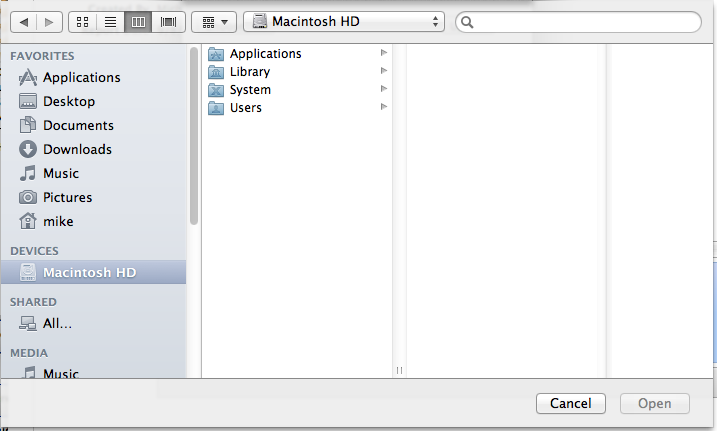
7. Select the file and click the Open button. You will then be brought back to the pop-up window.
8. Click the Upload button to complete the attachment. You will be brought back to the ticket screen.
Repeat steps 3-8 to add more attachments as needed.
9. Click the Save button to save the ticket and the attachment(s).