For school activity funds, checks and POs are both requested through Skyward.
Note: If you need to pay one vendor for multiple transactions, they can be included on a single request as separate line items as long as documentation for each transaction is provided.
Invoices can now be attached at the beginning of the creation process
Purchase Orders for Activity Accounts
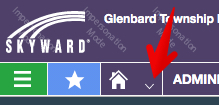
- If you are in Employee Access, click the arrow next to the home button.
- Select Administrative Access.
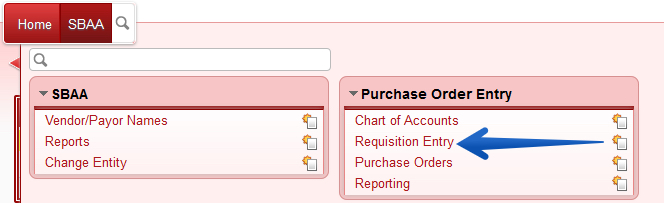
- From your home screen, click the PO Entry tile.
- Click Add Purchase Order near the upper-right.
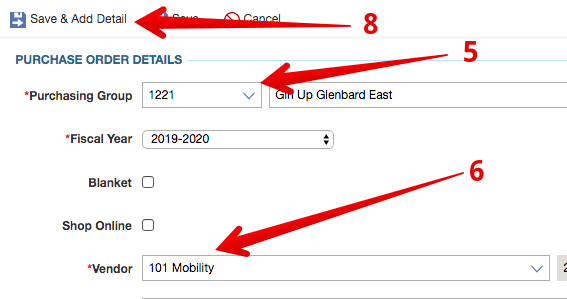
- Select your Purchasing Group from the drop-down. Note: Your activity accounts start with a 1, 2, 3, or 4. Your district budget accounts start with a 0.
- Start typing the name of your Vendor and select the matching vendor when it appears in the drop-down list.
- Note: Do not change the Delivery Instructions on an activity PO. The district office does not print and fulfill activity POs.
- Click Save & Add Detail.
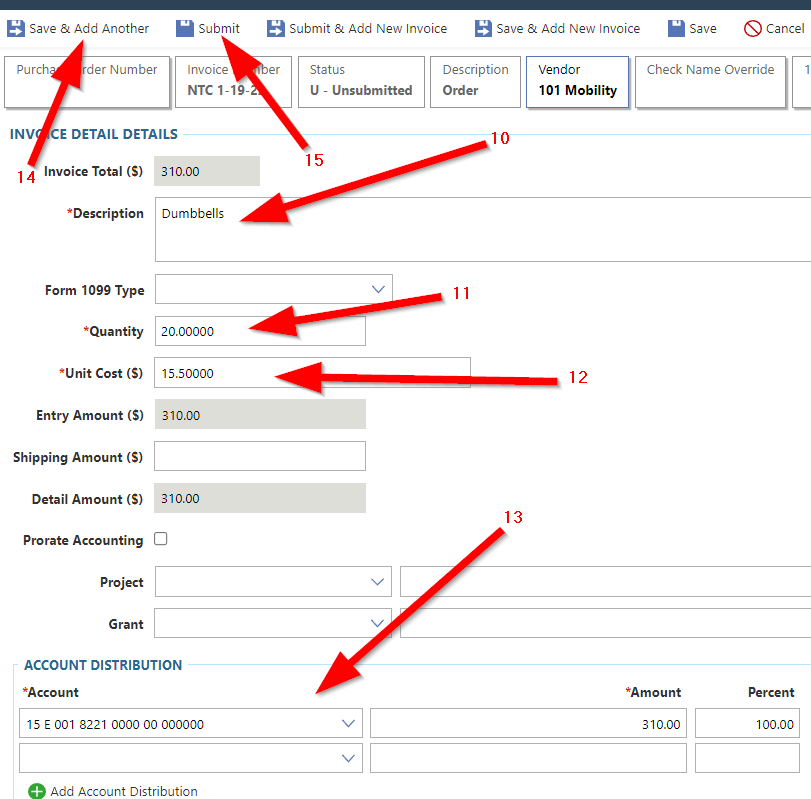
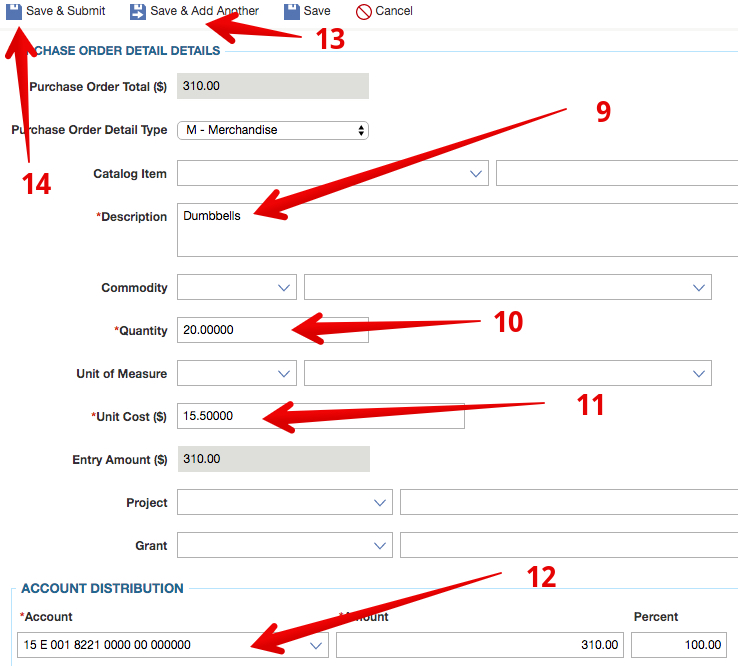
- Type a Description of the line item.
- Enter a Quantity.
- Enter a Unit Cost.
- Begin typing your Account number and select it from the drop-down when it appears. Remember activity accounts start with 15.
- Click Save & Add Another to add more detail lines.
- Click Save & Submit to finalize the PO.
Check Requests for Activity Accounts
Sponsors should use this process when employees need to be reimbursed from activity accounts. Place a check requests where the “vendor” is the employee who needs to be reimbursed.
- If you are in Employee Access, click the arrow next to the home button and select Administrative Access.
- From your home screen, click the Check Request Entry Invoices tile.
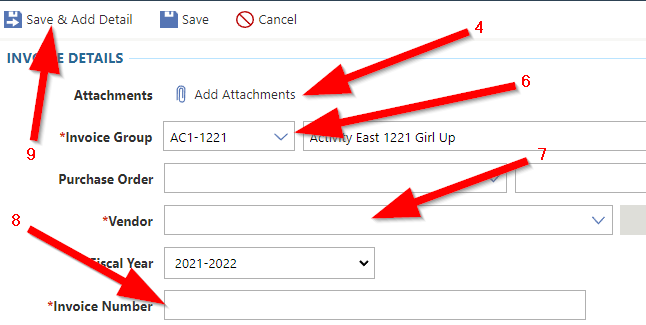
- Click Add Invoice near the upper-right.
- Click Add Attachments
- Browse and select the file from your computer.
- If you have multiple clubs, select your Invoice Group from the drop-down.
- Start typing the name of your Vendor and select the matching vendor when it appears in the drop-down list.
- If you have an invoice, type the Invoice Number. If not type your 3-letter initials followed by the date. i.e. JEJ 2-27-20
- Click Save & Add Detail.
- Type a Description of the line item.
- Enter a Quantity.
- Enter a Unit Cost.
- Begin typing your Account number and select it from the drop-down when it appears. Remember activity accounts start with 15.
- Click Save & Add Another to add more detail lines.
- Click Submit to finalize