How to set up the iPad for the check in system – this should be done daily.
- Using the iPad that is configured to be used for check in, click this icon
- Log in to PowerSchool
- Do not use your personal PowerSchool account.
- Do not share log in with another station
- Use the log in specifically set up for your office
- If the keyboard does not automatically pop up, turn off the barcode scanner and the keyboard should reappear on the screen
- Once logged in, PowerSchool should be redirected to the setup screen.
- If the iPad does not automatically redirect, click Check In/Out>Check In Scanning
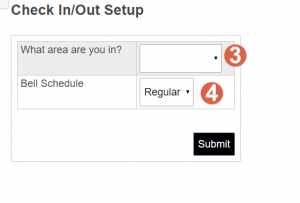
- Choose which office the iPad is in.
- Review the bell schedule. Ensure it matches the current day’s bell schedule.
- Change the Bell Schedule if it is incorrect, otherwise leave it as Regular.
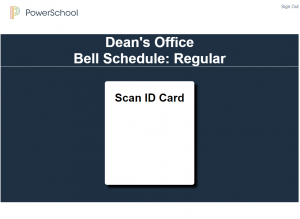
- Once on the below screen, the iPad is ready to scan IDs.
- At the end of the day, click Sign Out
- Turn off iPad
- Turn off the scanner
- Charge iPad and scanner as needed