Overlapping Enrollments report identifies students that have been enrolled into the same sections for overlapping periods of a single term.Every month, the Data Specialists will receive a Web Help Desk ticket to run the Overlapping Enrollments report. When the Data Specialists close their Web Help Desk ticket, they are attesting that the errors have been resolved unless otherwise noted in their comments in the ticket.
- Click on Extended Reports from the navigation menu
- Click on the Scheduling tab
- Click Overlapping Enrollments
- Review the results
- If there are no overlapping enrollments, a message will appear that No Students have overlapping enrollments
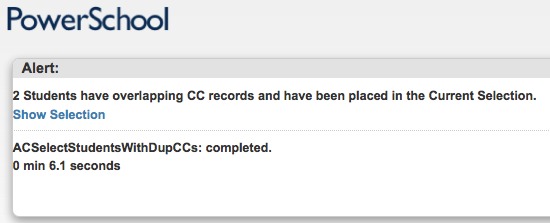
- If there are overlapping enrollments, a message will appear that [x] Students have overlapping enrollments and there will be a link to the affected students.

- Click Show Selection which will open a student selection screen
- Click on the first student to be taken to the Clean Up Overlapping Section Enrollments screen
- If the student screen did not default to the clean up page, click All Enrollments from the navigation menu
- Click the blue link at the bottom of the enrollments page called Clean up overlapping enrollments
- The clean up page is a wizard designed to help clean-up students with these errors.
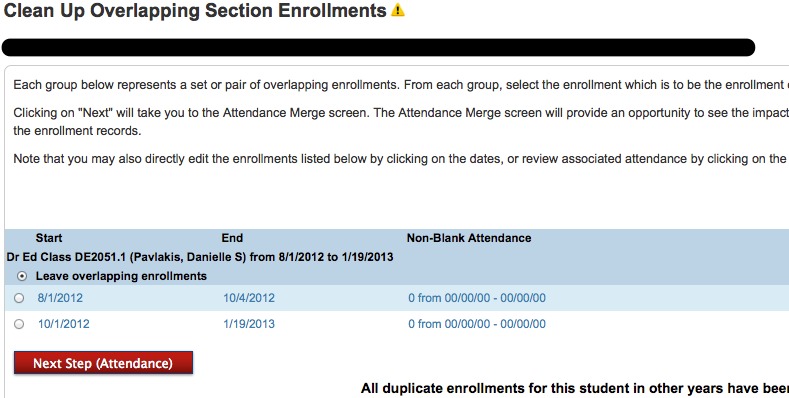
- The first page lists the overlapping enrollments
- It gives three choices:
- Leave the overlapping enrollments
- Keep one of the overlapping enrollments
- Keep the other overlapping enrollment
- Think about the situation and confirm a few details
- On what date did the student actually enroll into the class
- On what date did the student actually drop into the class, if at all
- Did the student enroll in the class, drop the class, and then later after in the year enroll back into the class
- If the student enrolled, dropped, and later reenrolled in the class click Leave overlapping enrollments
- Otherwise click the enrollment matches the student’s actual enrollment
- If none of the records match the students actual enrollment click All Enrollments from the navigation menu
- Click Edit for the enrollment that closest matches the student’s actual enrollment
- Change the Enroll Date and/or Exit Date to match the student’s actual enrollment
- Click the Submit button and then restart to the process from the clean-up screen
- Click the Next Step (Attendance) button
- It gives three choices:
- The next screen assists in merging attendance records
- All attendance records from the enrollment that is not being kept will be listed in the table on this page

- If the records are outside of the enrollment date range, they will be listed in red with a “Will Remove” note.
- If the red attendance records need to be kept click All Enrollments from the navigation menu
- Click Edit for the enrollment that closest matches the student’s actual enrollment
- Change the Enroll Date and/or Exit Date to match the student’s actual enrollment
- Click the Submit button and then restart to the process from the clean-up screen
- Review the attendance records to be merged
- Click the checkbox labeled Check to confirm that you really want ot merge this group of enrollments
- Click the Submit button
- All attendance records from the enrollment that is not being kept will be listed in the table on this page
- The clean-up screen will now state that All duplicate enrollmetns for this student have been resolved.