When powering on a phone that is not hardwired, you will see a screen that says Connecting.
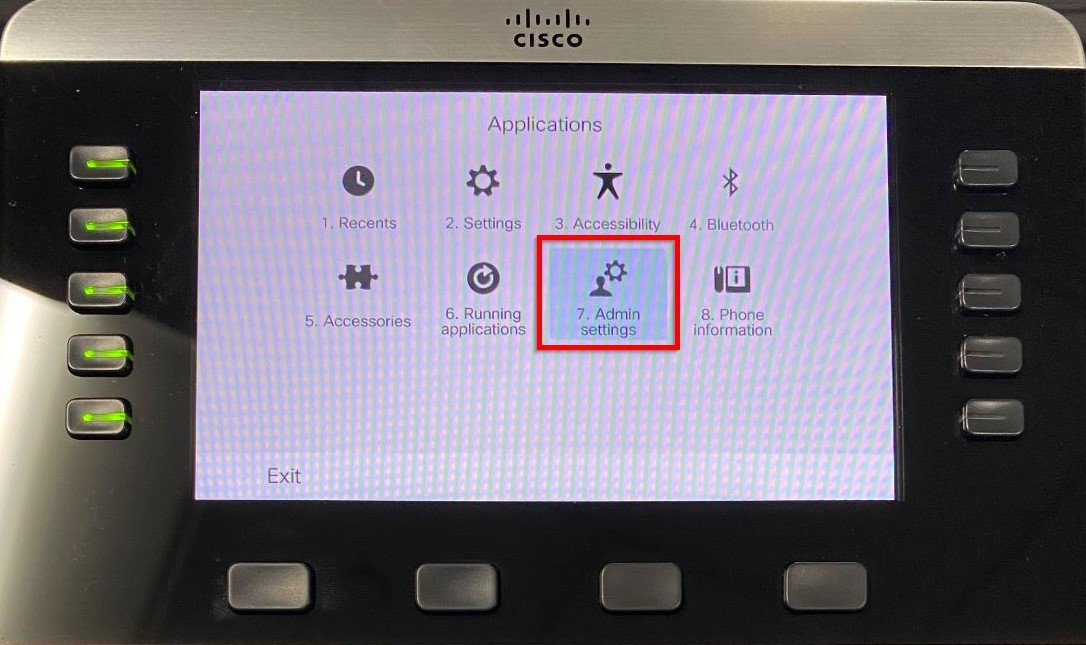
- To setup a WiFi connection, click the settings button.

2. Select Admin settings
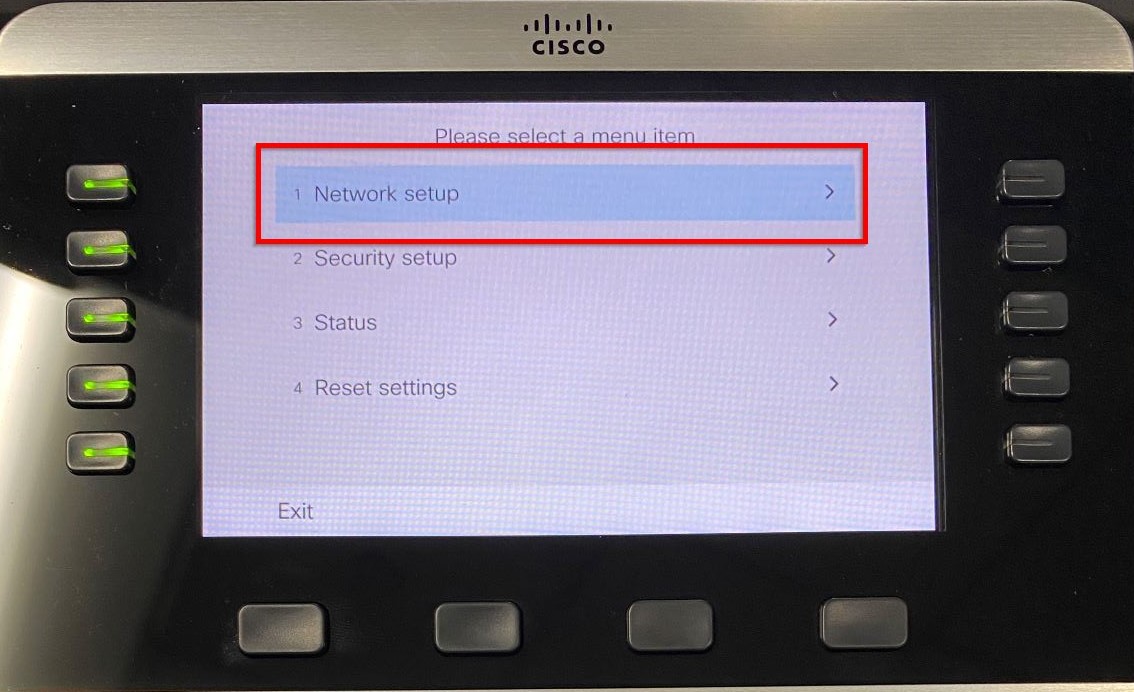
3. Select Network setup
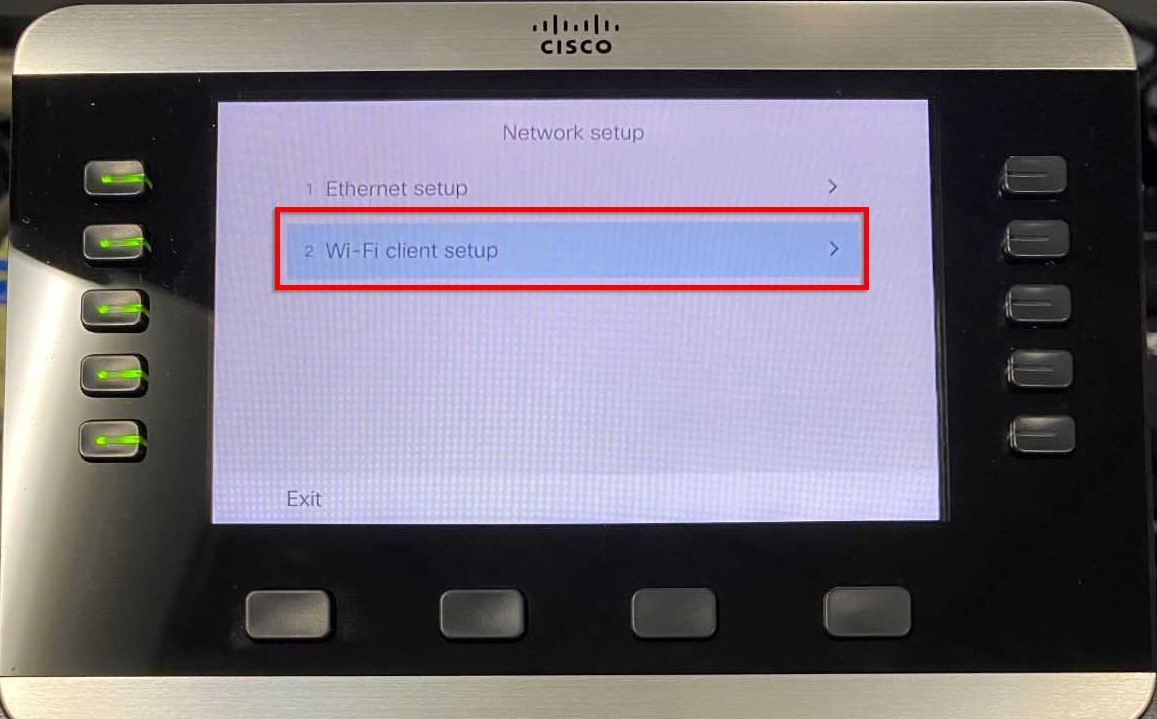
4. Select Wi-Fi client setup
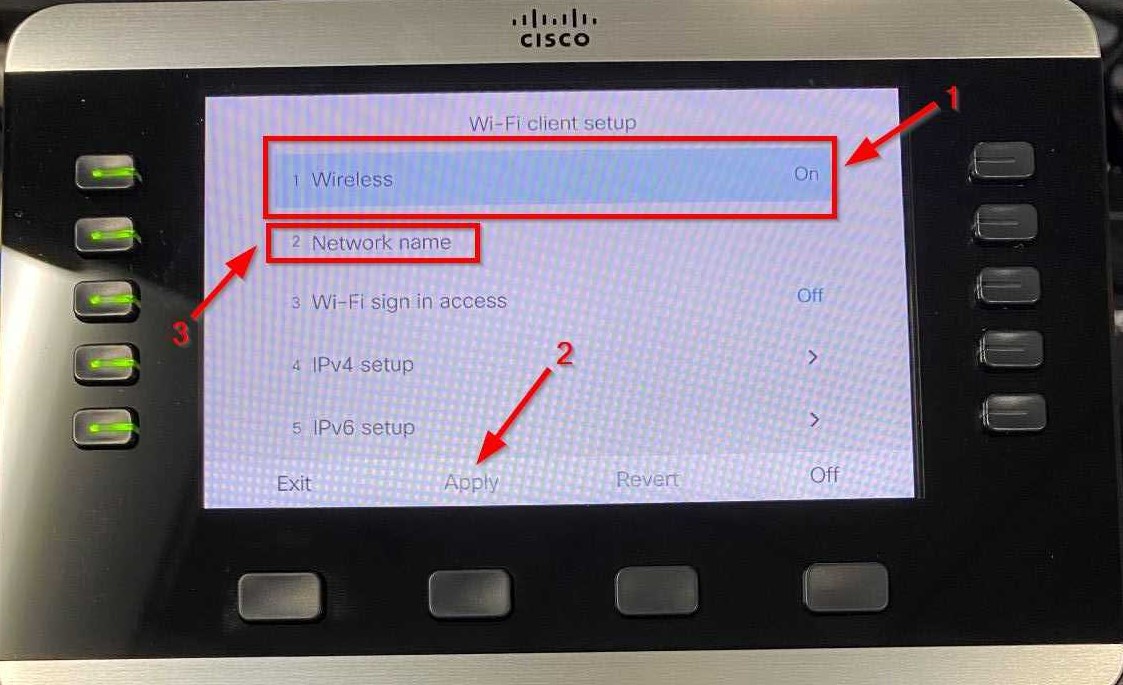
5. Highlight Wireless and click the center button to enable it, click Apply, then select Network name
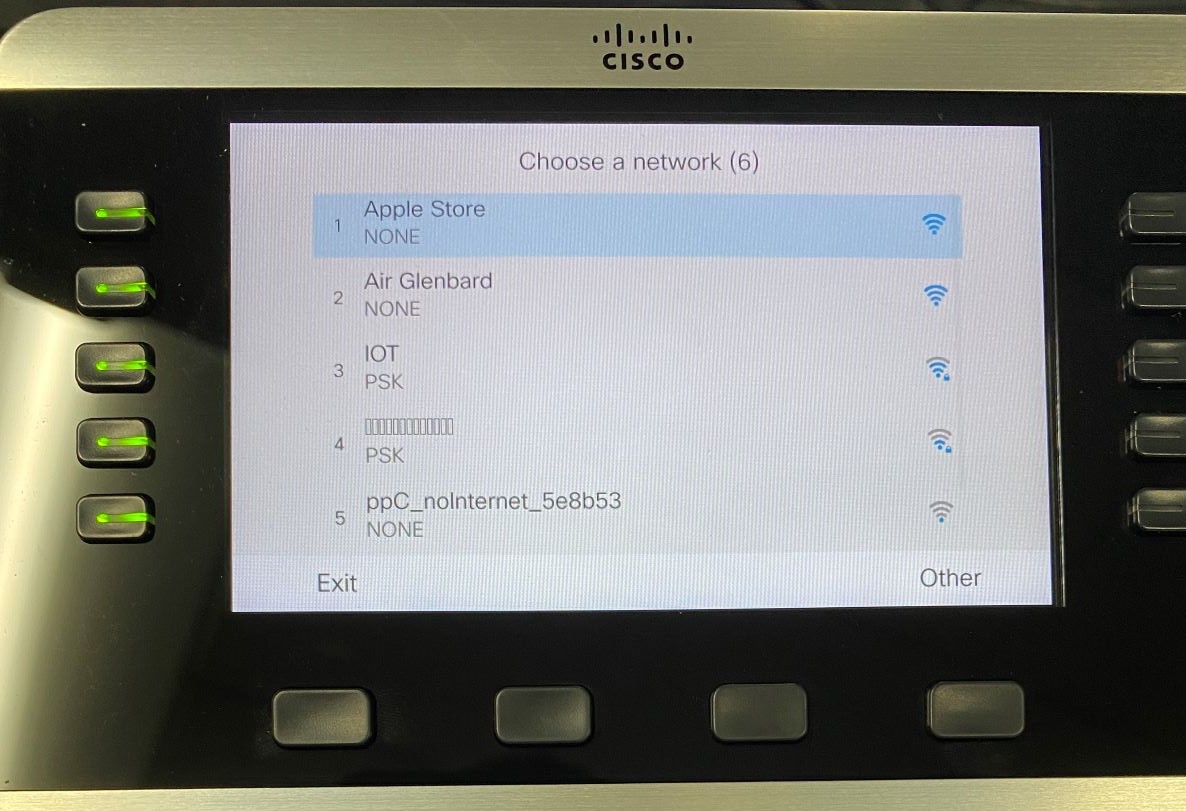
6. Find the name of your Wireless network and click the center button
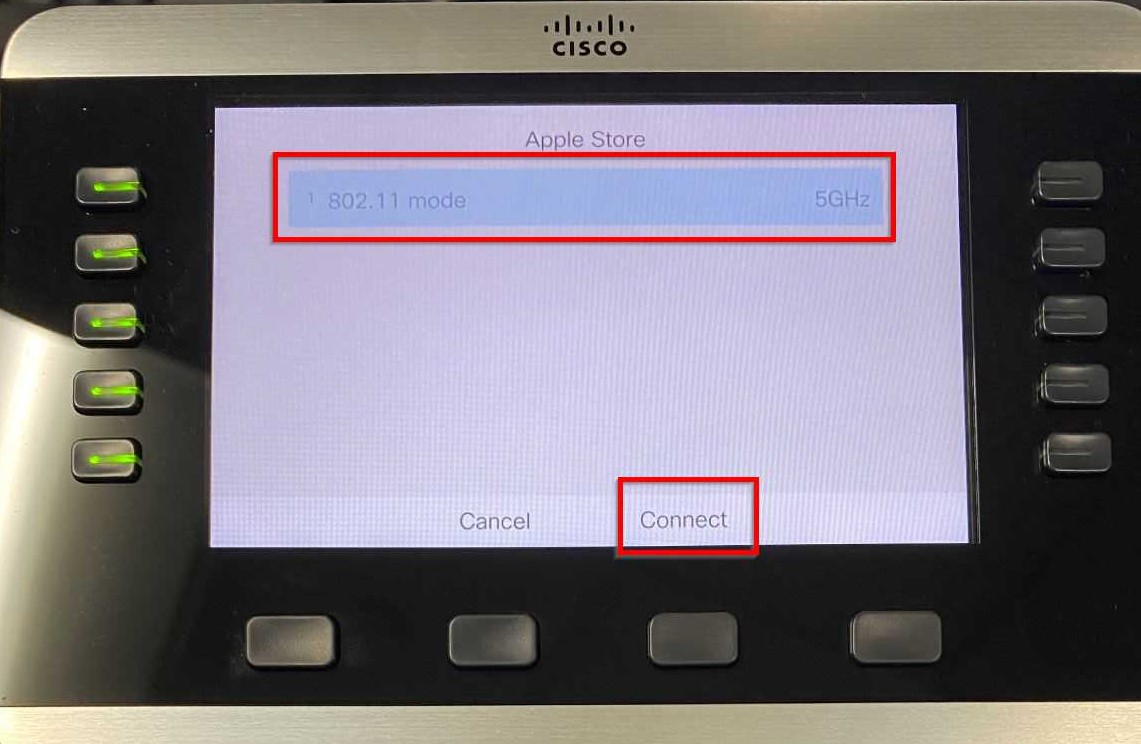
7. Highlight the 802.11 Mode and click Connect. If presented with two options, highlight the one that says 5GHz on the right side
8. Once successfully connected, you will be redirected to a login screen. (You may have to select “Exit” at the bottom to get back to this login screen.)
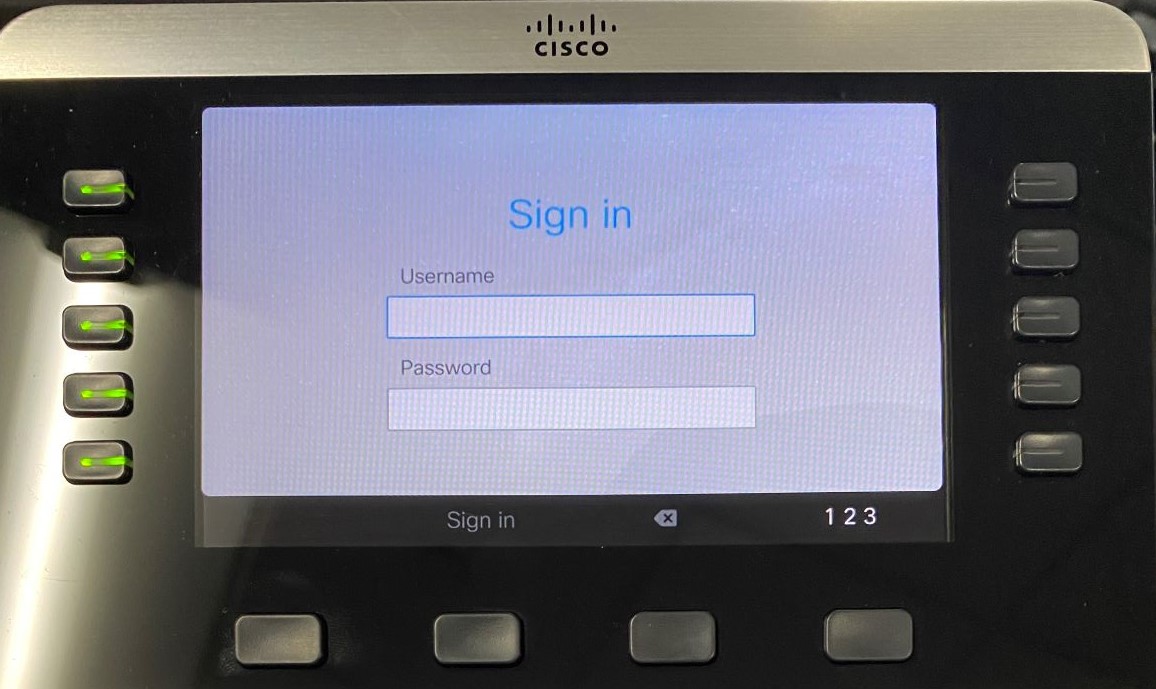
Read the following article for the settings to log in.
https://docs.glenbard.org/index.php/technology/setting-up-a-hardwired-cisco-8861-phone-at-home/